POWERED BY


(NSFW) Rebel Crossing Danger Area Doesn't Make It
Published 2 years ago
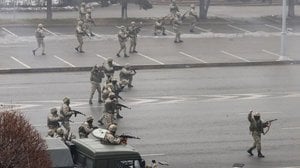
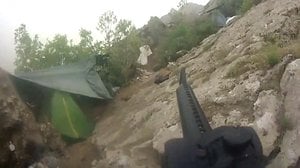
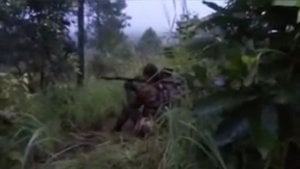
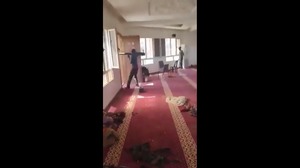
Footage recorded in March of 2013 shows a group of rebels attempting to cross a contested danger area. The entire situation goes south when one of them catches a round to the torso.
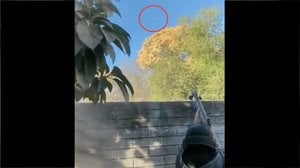
There's a right and a wrong way to cross a danger area. In the infantry, we have a simple saying. Fire without maneuver is a waste of ammunition. Maneuver without fire is suicide. This video gives us a clear example of this statement. When you're crossing a contested danger area, you need your buddies to pop-out and take control of the situation with their own suppressing fire. Once they gain something like control of the alley you need to get across, that's when you bound across with every ounce of speed you have in you.
Here, the rebels don't do that. We can clearly see the rebels waiting in line to cross the danger area in the back-drop of the video. None of them are moving to a position of cover to open fire towards their opposition. Doing this doesn't guarantee that you'll make it across the danger area, but it does give you a far better chance than trying to cross it dry without anything like covering fire to get you to the otherside.
Standard operating procedures and IA drills work. They were lessons learned by those who came before you, and they were lessons paid for in the cost of blood. Failing to follow those SOPs and IA drills will generally yield you bad results, as we see here in this video.
Judging from the blood on the stretcher, this guy wasn't the first casualty they evacuated from this danger area that day.